
Communication ESP32-Wi-Fi router
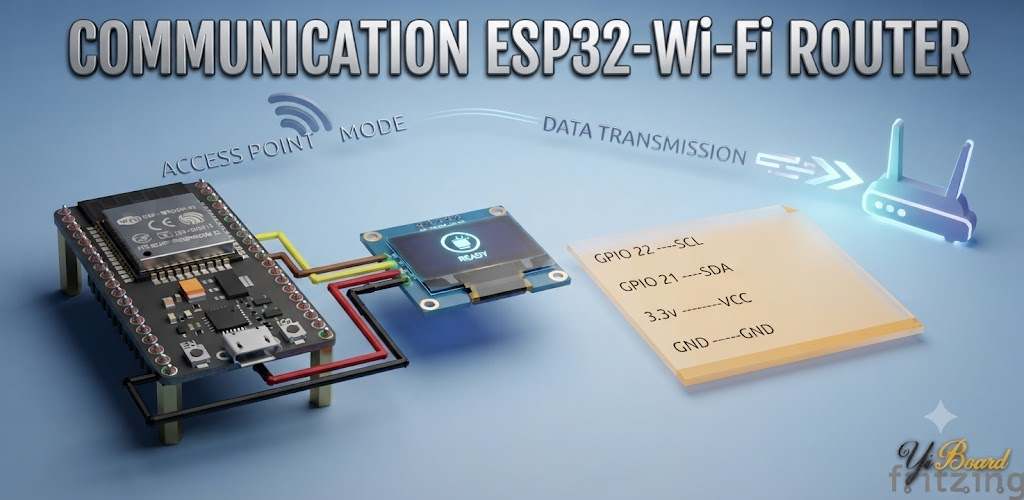
In this article, we’ll establish an HTTP connection between two ESP32 development boards to share data via Wi-Fi without using a wireless router. By eliminating the need for a router, you can set up this system for projects requiring lightweight and portable operation, especially when used outdoors. No more worrying about carrying a bulky router, no matter where you are!
The HTTP protocol is similar to a serial protocol because both allow you to send and receive data between two ESP32 development boards. However, if we compare them, there are two main differences:
- ● The ESP32 HTTP protocol does not require a wired connection.
- ● The ESP32 server can connect to multiple ESP32 clients.
How the project works
This project uses the Arduino IDE. To demonstrate data exchange, we use a BMP180 sensor to stream data from one ESP32 to another client ESP32 module, and then display the data on an OLED module.
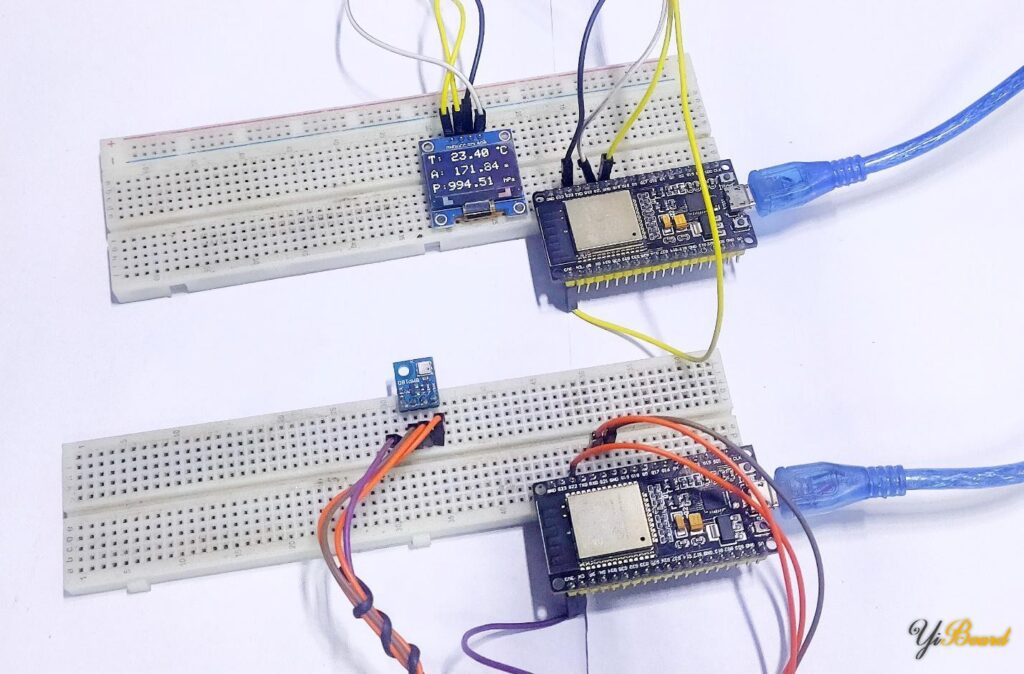
This article uses two ESP32 modules: the first as a server and the second as a client. On the server, we need to connect to the BMP180. On the client, we use an Adafruit I2C SSD1306 OLED display module. The following diagram shows the communication setup for this project.
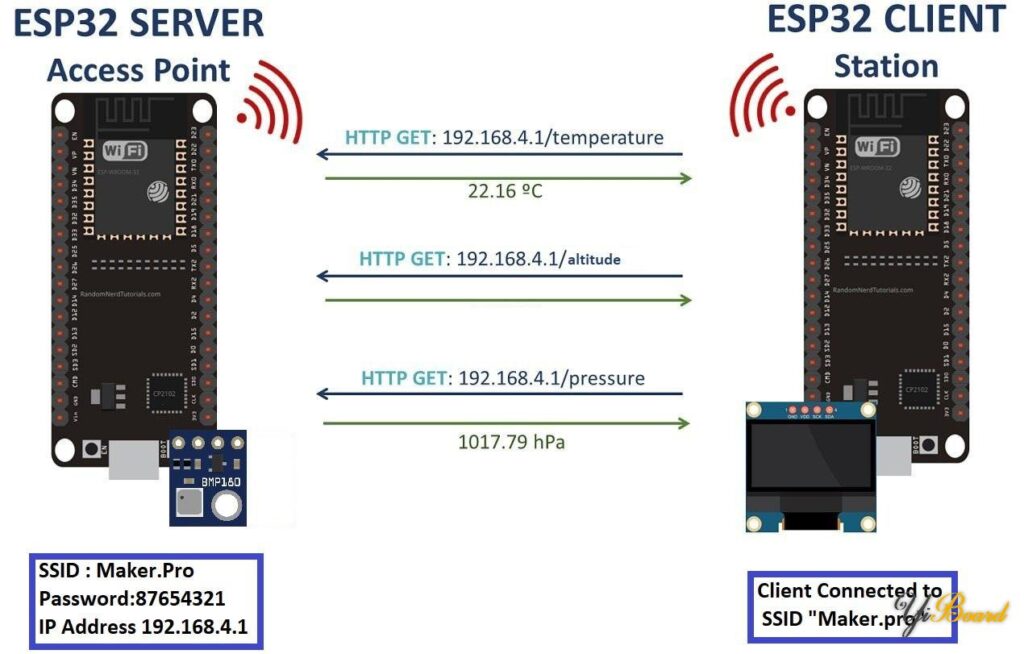
Let’s talk about the communication range of these two ESP32 modules. When I set up this project in an open space, I was able to transmit data up to 50 meters between the two ESP32 modules.
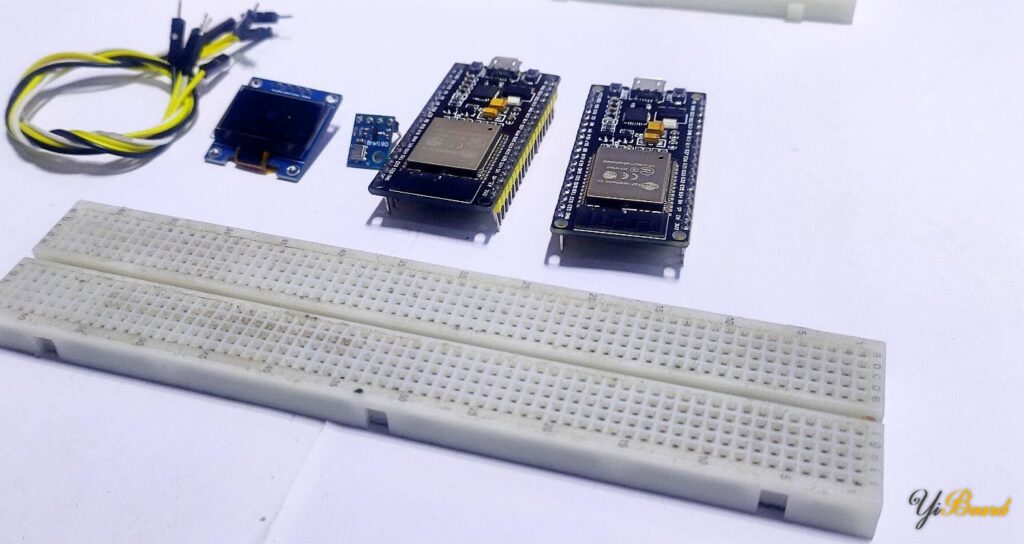
Required hardware
- ● ESP32 module
- ● BMP180 sensor module
- ● Breadboard
- ● Jumper
- ● I2C OLED display
- ● Mobile phone
Essential software
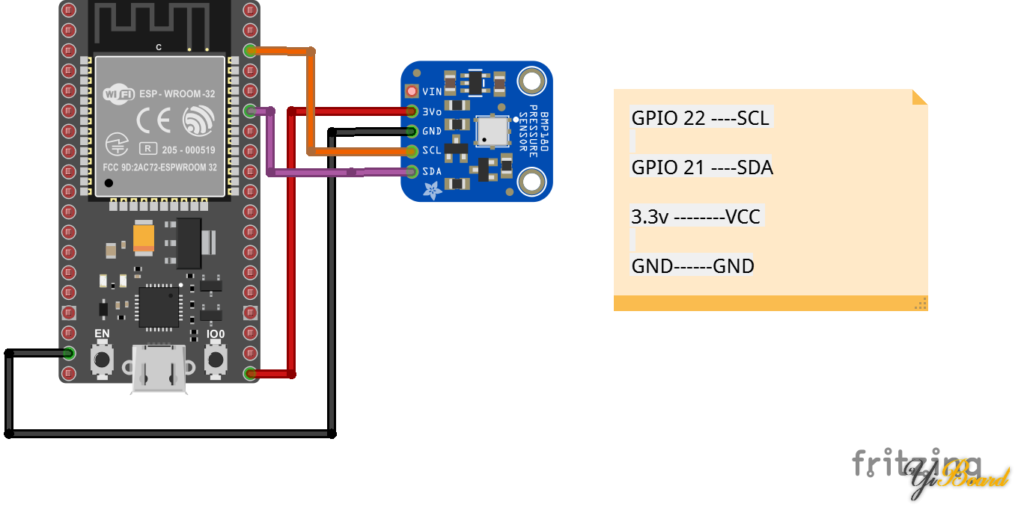
Hardware wiring diagram
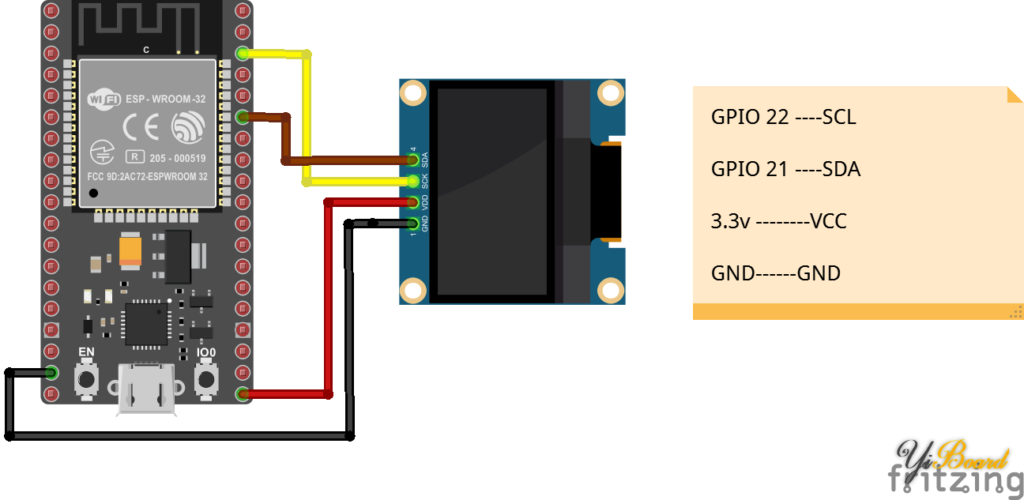
Connect the hardware as shown in the diagram below.
Upload the code to ESP32
The Arduino sketch Server.ino is uploaded to the ESP32 module connected to the BMP180 sensor. The Arduino sketch Client.ino is uploaded to the ESP32 connected to the OLED module.
Connect the phone to the ESP32 server.
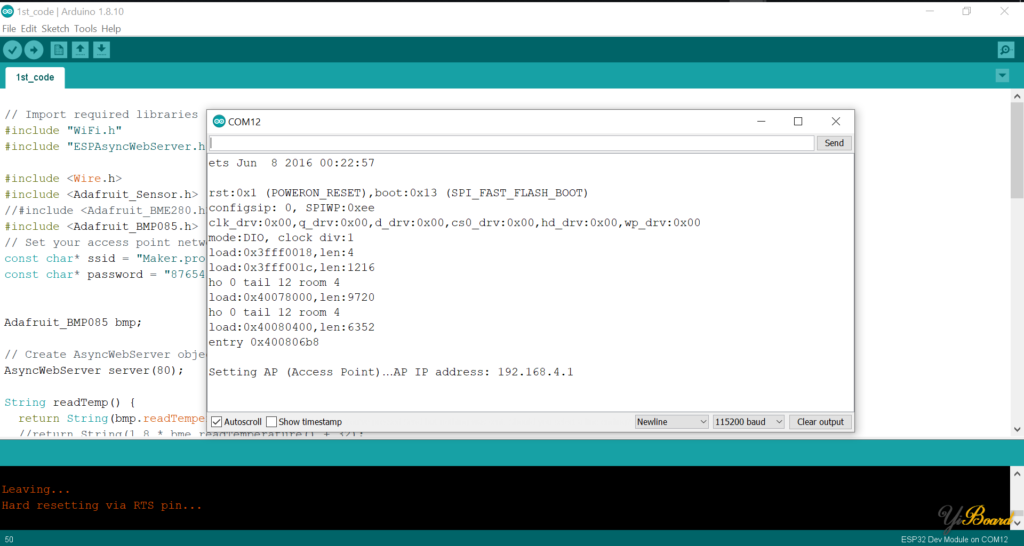
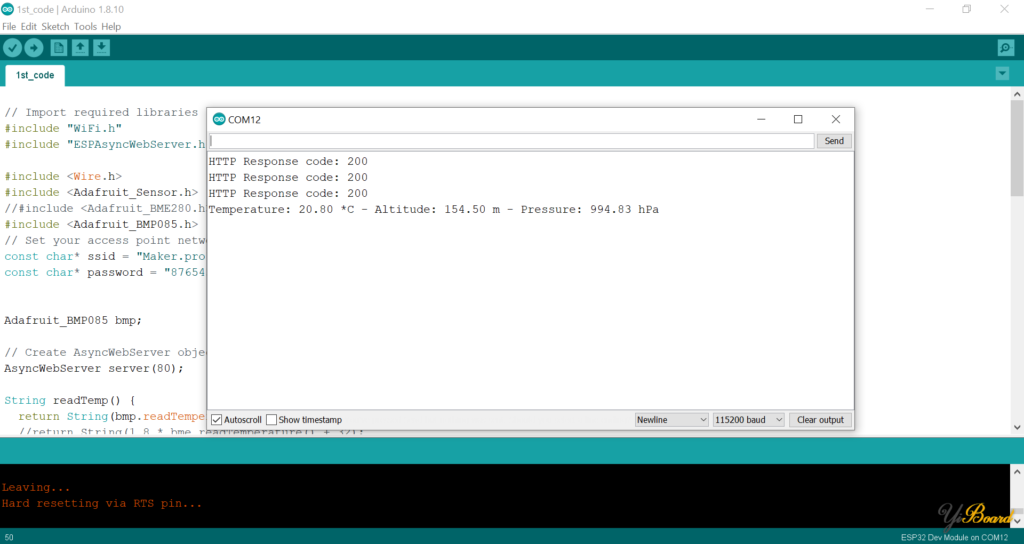
After uploading the code to the ESP32 server, let’s test the project with our phone. Open the serial monitor, which will display the following:
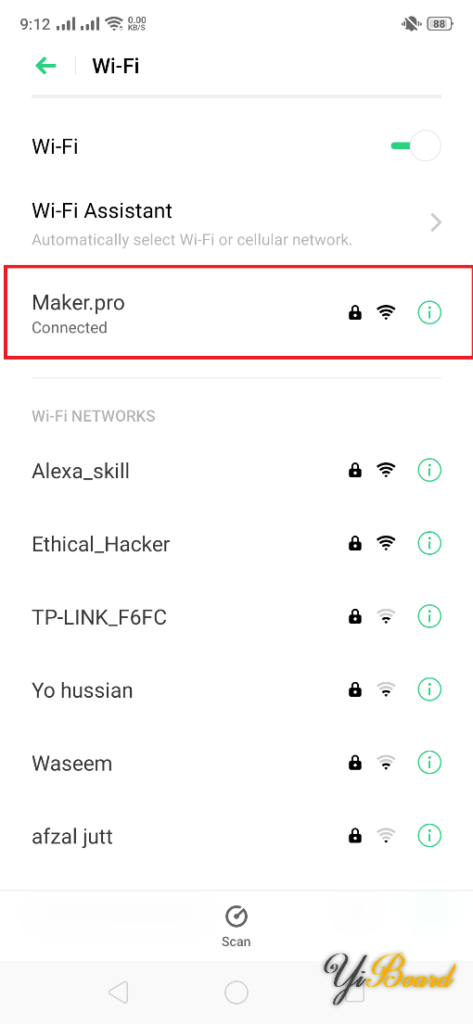
Next, connect your phone to the ESP32 module via Wi-Fi to test the server-side programming. The SSID is “Maker.pro” and the password is 87654321.
After connecting to Wi-Fi, open your phone’s internet browser. Then navigate to the following link:
● 192.168.4.1/temperature
● 192.168.4.1/altitude
● 192.168.4.1/pressure
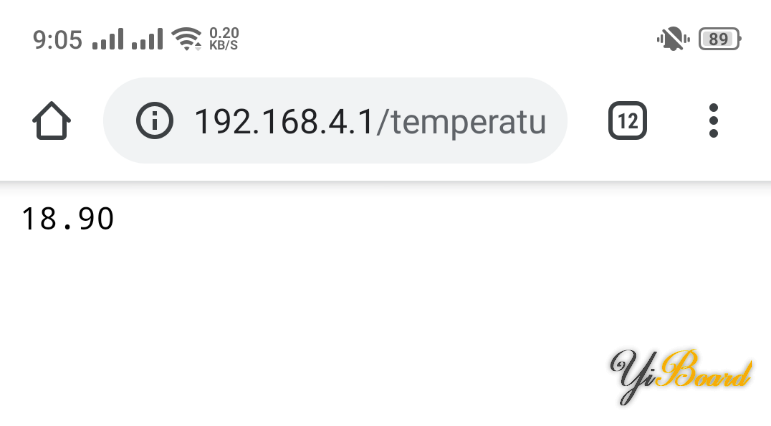
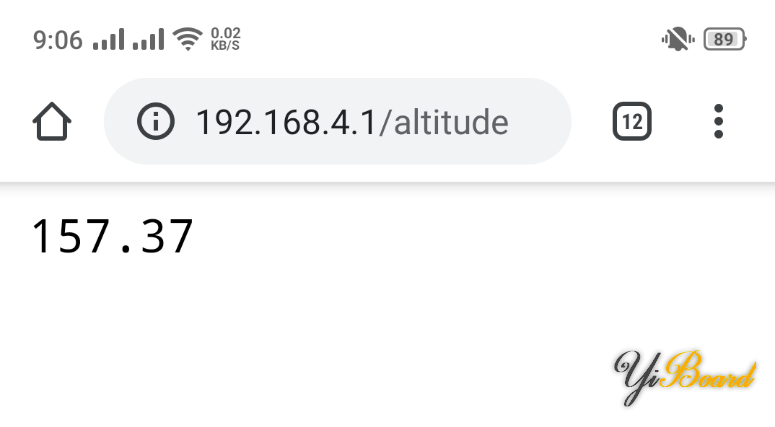
If you see data like the one shown above in your browser, then the code is working correctly.
Upload Client.ino
Now, upload the Client.ino code to another ESP32 module. Bring the development board close to the module and power it on. After powering on, open the serial monitor, which should display the following:
With the above configuration, the ESP32 module can communicate without a router.
Download files
This content is available to logged-in users only.
هذا المحتوى متاح فقط للمستخدمين المسجلين.
Ce contenu est réservé aux membres connectés.
🔑 Login 📝 RegisterLog in or create a free account to access downloads and exclusive content.
This content is available to logged-in users only.
هذا المحتوى متاح فقط للمستخدمين المسجلين.
Ce contenu est réservé aux membres connectés.
🔑 Login 📝 RegisterLog in or create a free account to access downloads and exclusive content.


